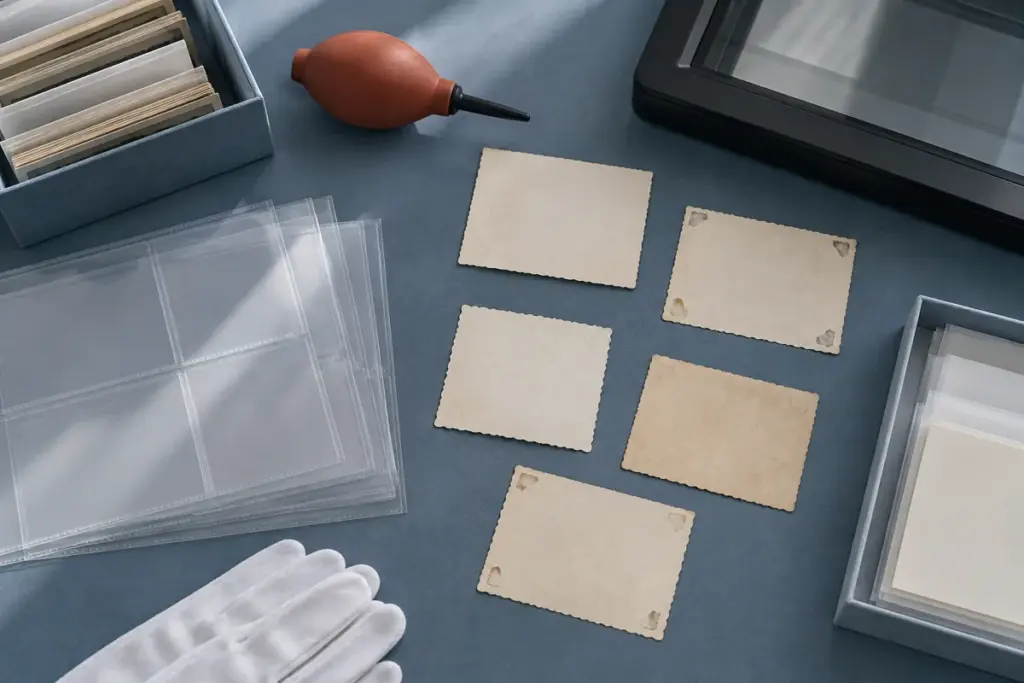
To scan old family photos safely, keep your hands clean, keep food and drinks away, and avoid touching the print surface. Make sure a flat photograph fits completely on the scanner surface, keep fragile or bent items out of automatic feeders, and retain every original after digitizing it. Then label the files and create three copies on two types of media, with one copy kept off-site. Sources: Preserving Family Photos, Digitizing Family Papers and Photographs.
Digitizing lets relatives view and share images with less handling of the originals, but a digital file is not a replacement for the physical photograph.
Check the photograph before you scan
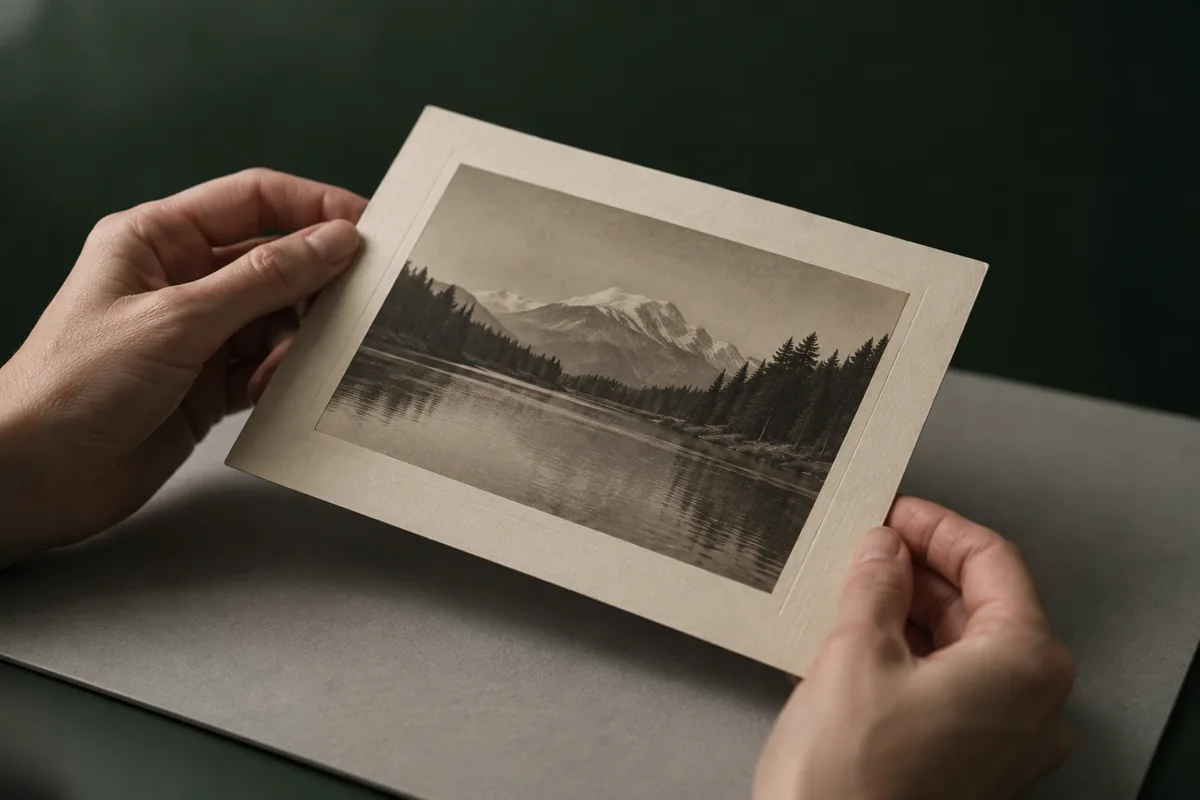
Before placing a flat paper photograph on a scanner, make sure the complete item fits on the scanner surface.
Do not force a rolled photograph open, since it could crack. Sources: Preserving Family Photos.
Handle originals without adding damage
Do not touch the surface of a photographic print. Fingerprints can cause permanent stains, and lotions can also leave stains. Keep food and drinks away from the work area.
Handle photographs and mounted photos gently with two hands. Cotton or nitrile gloves can be worn, and a folder or piece of mat board can support an item while you lift it.
Keep the original unchanged: do not fold, cut, trim, or remove it from its mount. Do not mend it with glue or tape.
Choose a scanner or phone capture method
For a display scan, use a scanner with a glass platen larger than the item and do not use auto feed. Automatic-feed scanners are not suitable for fragile, weak, bent, or valuable papers. Sources: Digitizing Family Papers and Photographs.
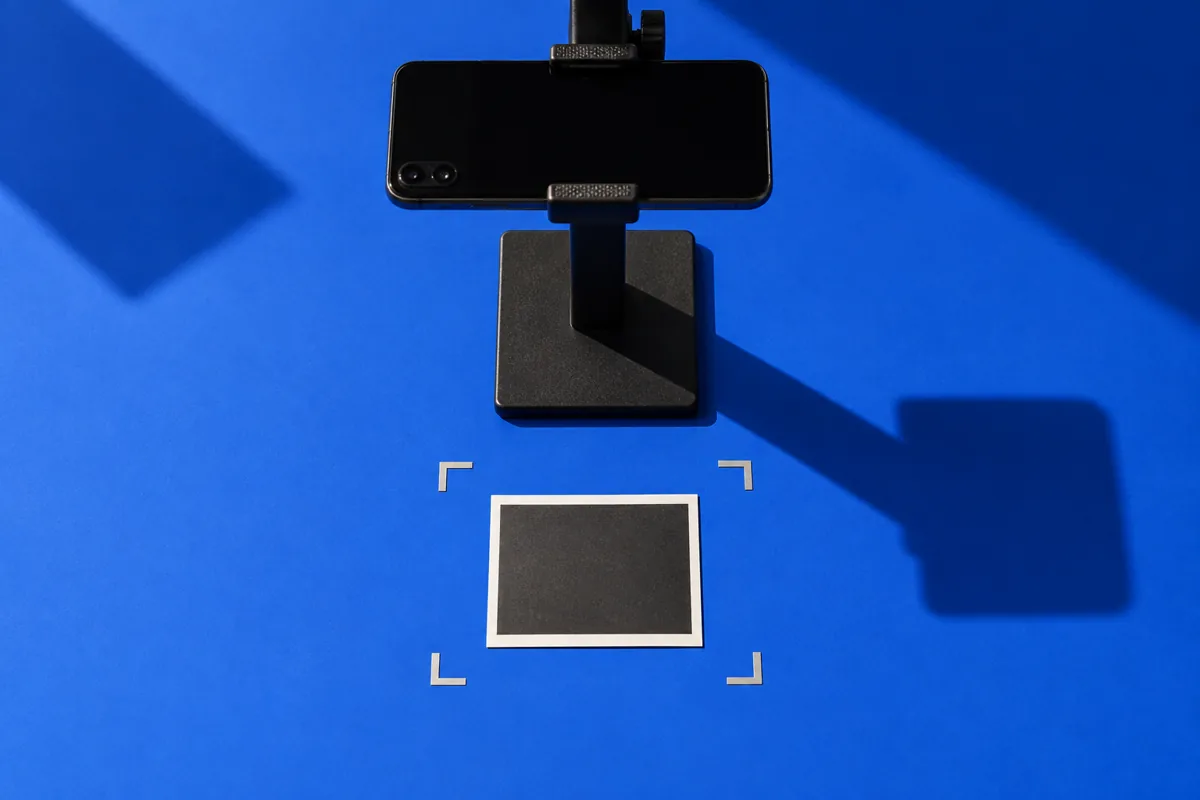
For Google PhotoScan, place the photograph on a flat surface with a contrasting background for better framing. With glare removal in use, move the phone until the circle is over each of the four dots. Sources: Scan your photos – Google Photos Help.
If PhotoScan glare removal is turned off, you do not need to move the phone during the scan, but glare will not be removed.
Keep identity and context with the digital files
Add basic metadata that records who, what, where, and when. For file names, use hyphens and underscores instead of spaces.
For some paper prints, identifying information can be written lightly on the back. If the photo paper will not accept pencil, put the caption on the photo enclosure instead.
Back up the scans and keep the originals
Keep original photographs after digitizing them. Digital files can be lost and have their own preservation risks, while scans can reduce the need to handle originals for viewing and sharing.
Use three copies of the digital files on two different media, with one copy kept off-site.
Store the physical photographs after scanning
Store originals in cool, dry areas. Damp conditions can encourage mold, attract insects, and cause photos to curl or stick together. Heat can speed deterioration and lead to staining, discoloration, and embrittlement.
Use preservation-quality folders and boxes large enough to fully enclose and support the photographs. Store large photos, including panoramas, flat when possible.
Store photographs in the dark and limit long-term display of originals to reduce light damage. A print made from a digital scan can be used for display instead.
Related reading: photo restoration tools